Video: Creating and downloading data
Last updated: October 13, 2026
In this guide, you will learn how to create and export data in Mesh.
When logging in to your account, please ensure you select the correct region, which will be one of the following:
Australia: https://au.mesh.complyadvantage.com/
You can find the link to your region in the onboarding email you received (look for the "Welcome to ComplyAdvantage" email).
If you can't find the email, don't worry! You can always contact our support team at support@complyadvantage.com.
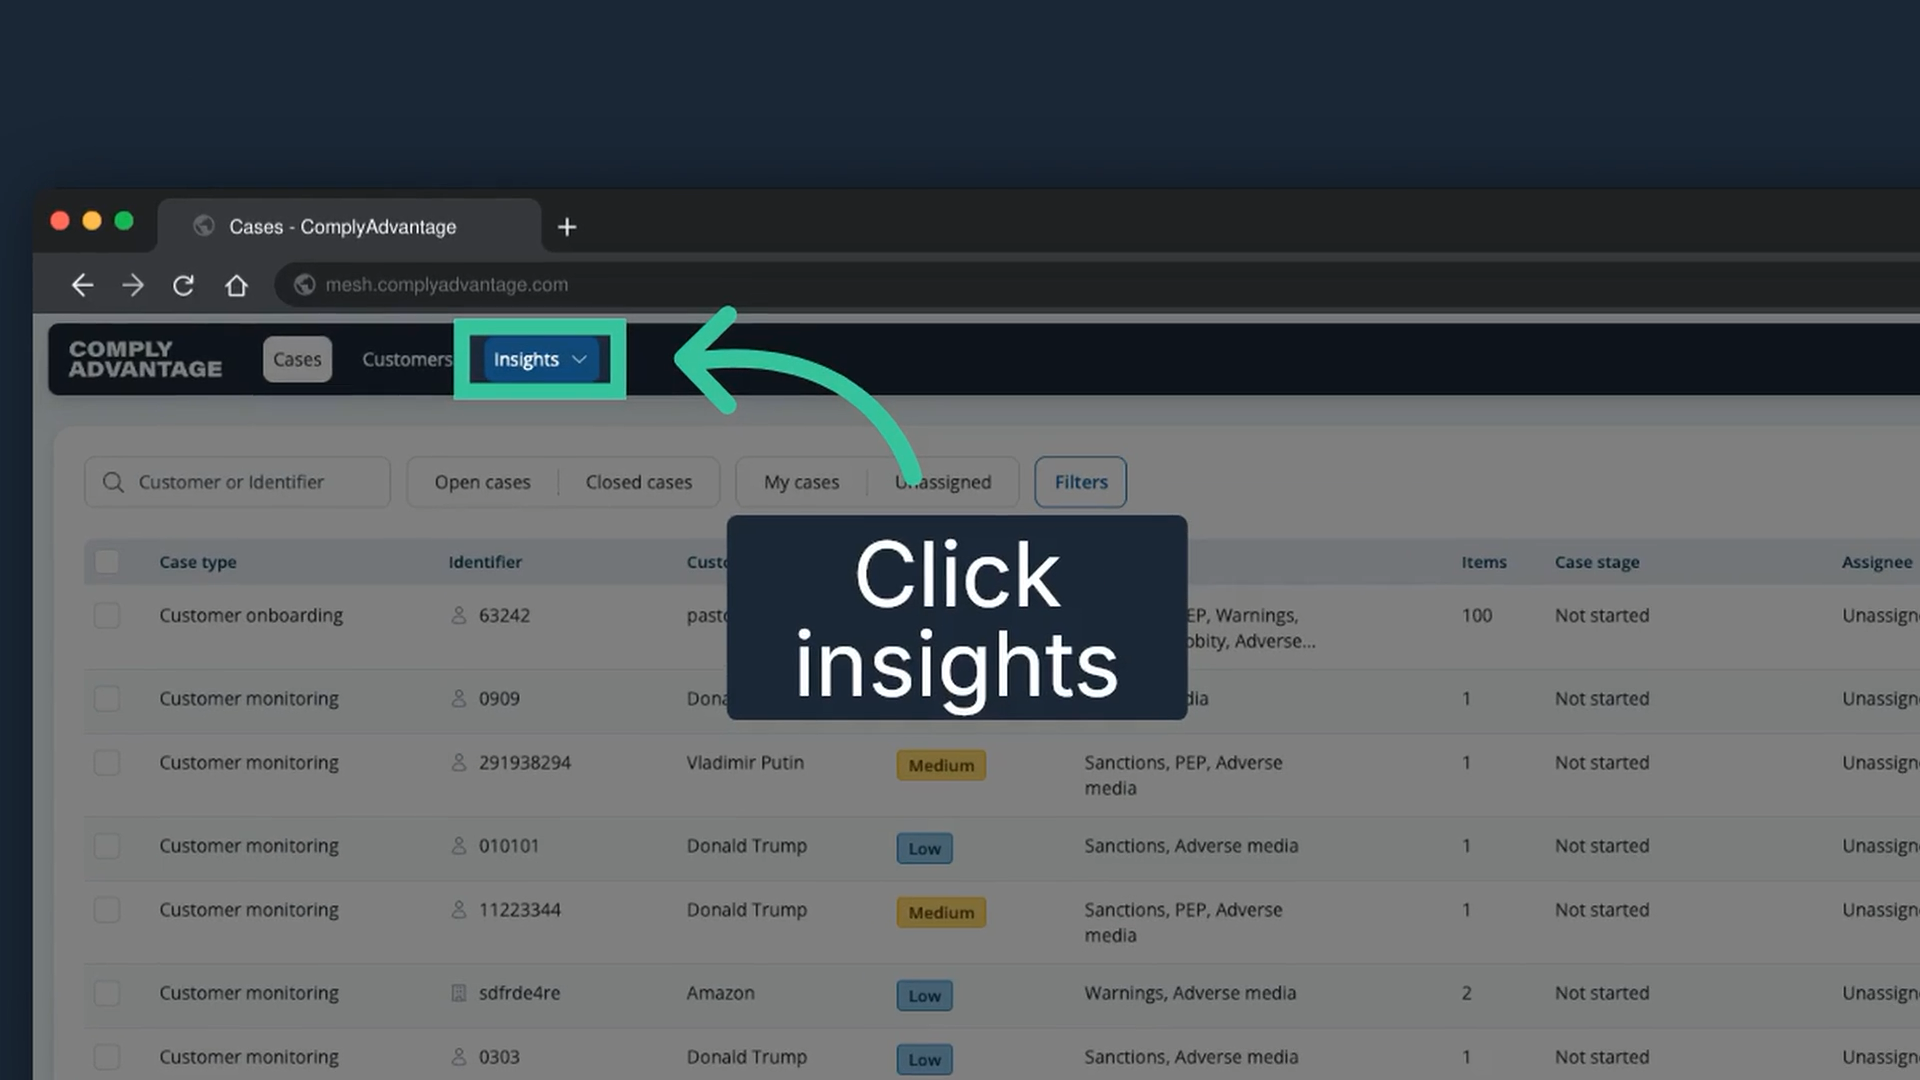
1. Click "Insights"
In the main navigation, click "Insights" to begin the data export process. Creating and downloading exports needs the Supervisor or Admin system role, or a custom role with the exports permission.
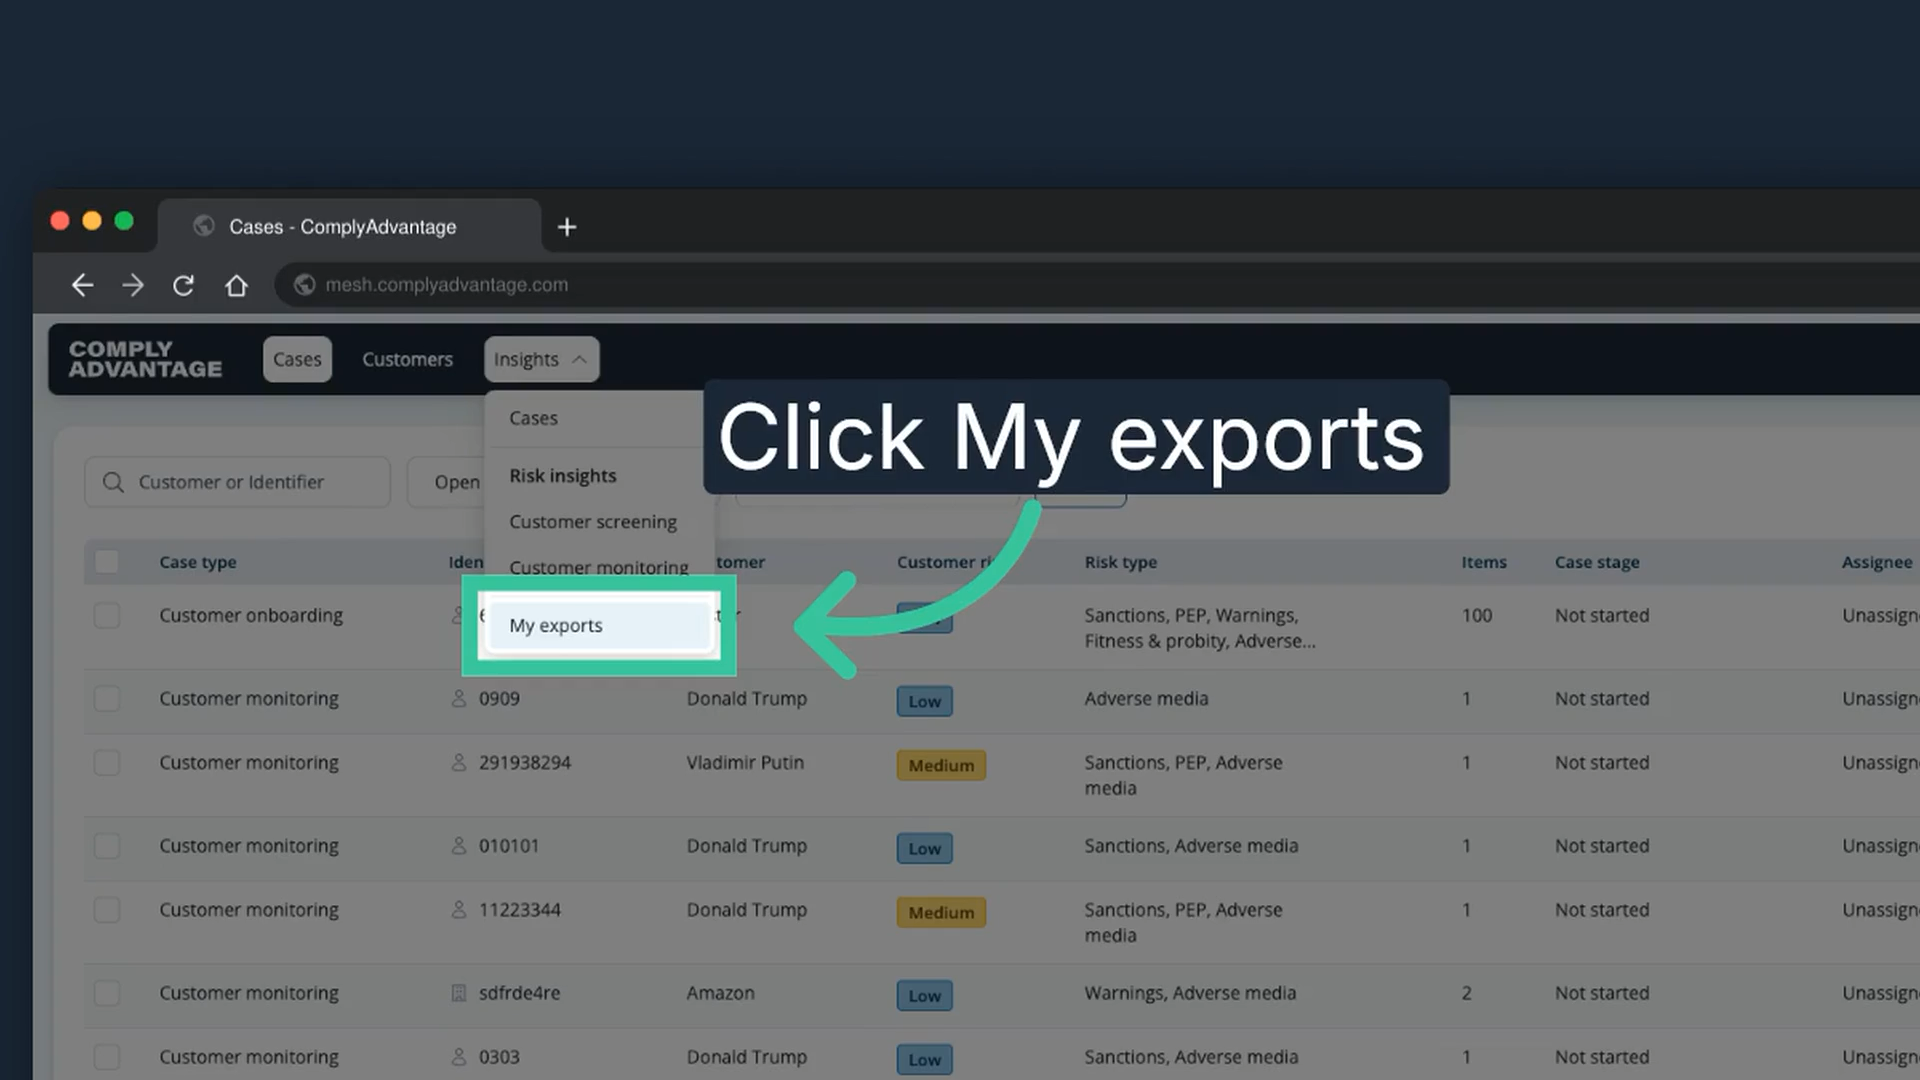
2. Click "My exports"
Select "My exports" from the Insights menu.
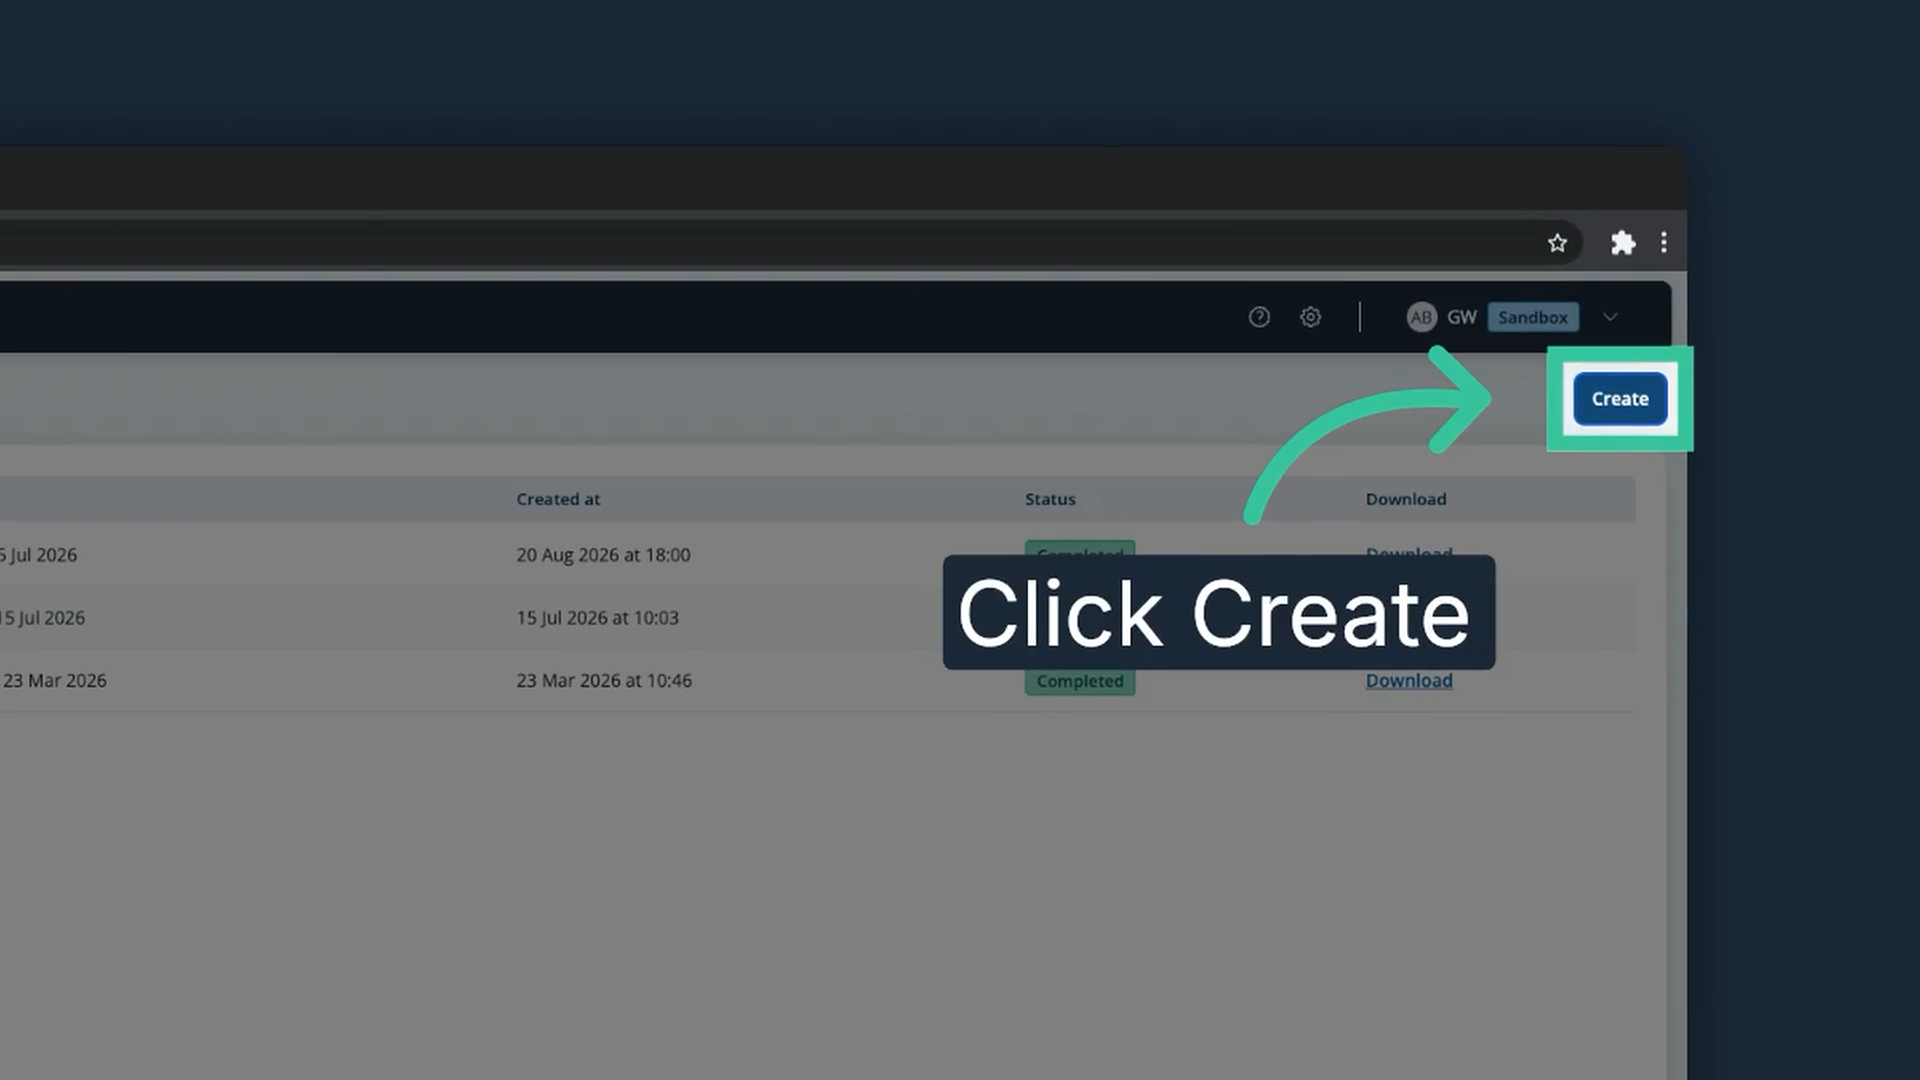
3. Click "Create"
Click "Create" in the top right to create a new export.
4. Name the export
Give your export a name.
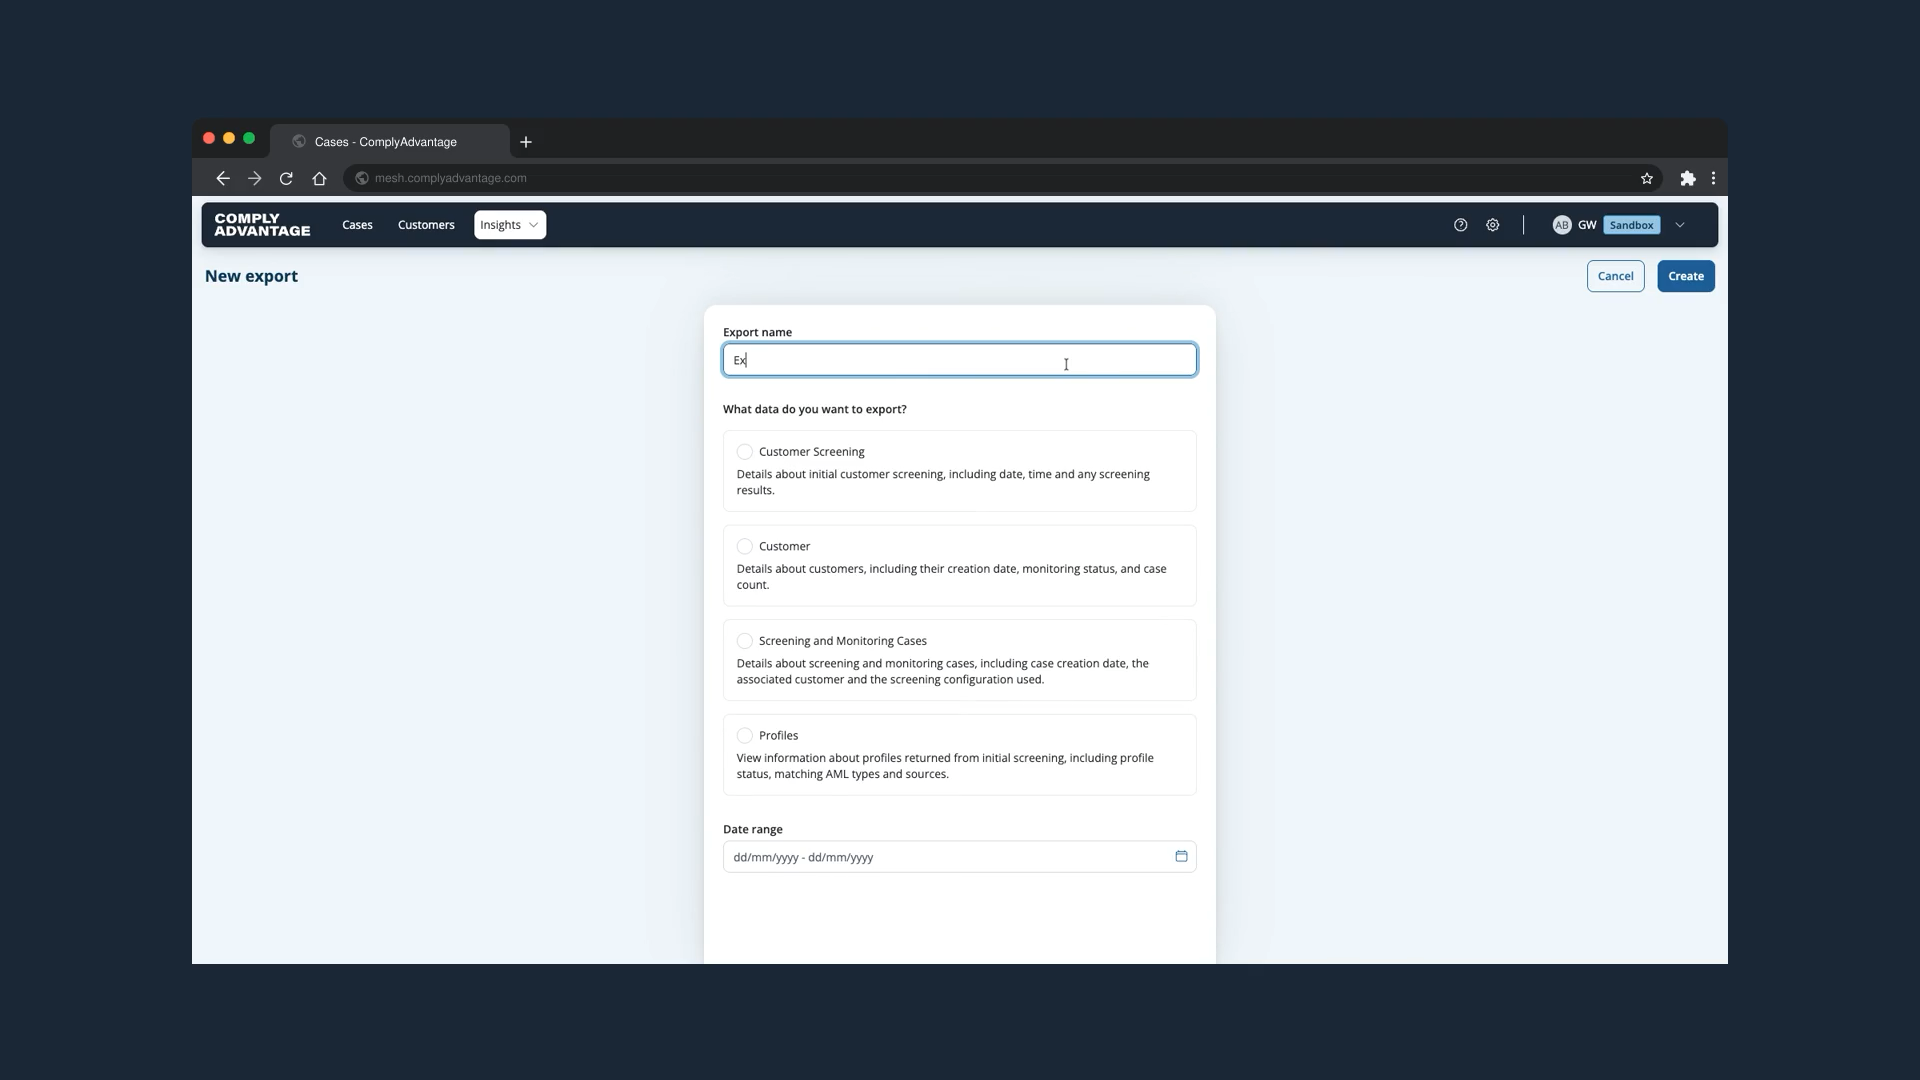
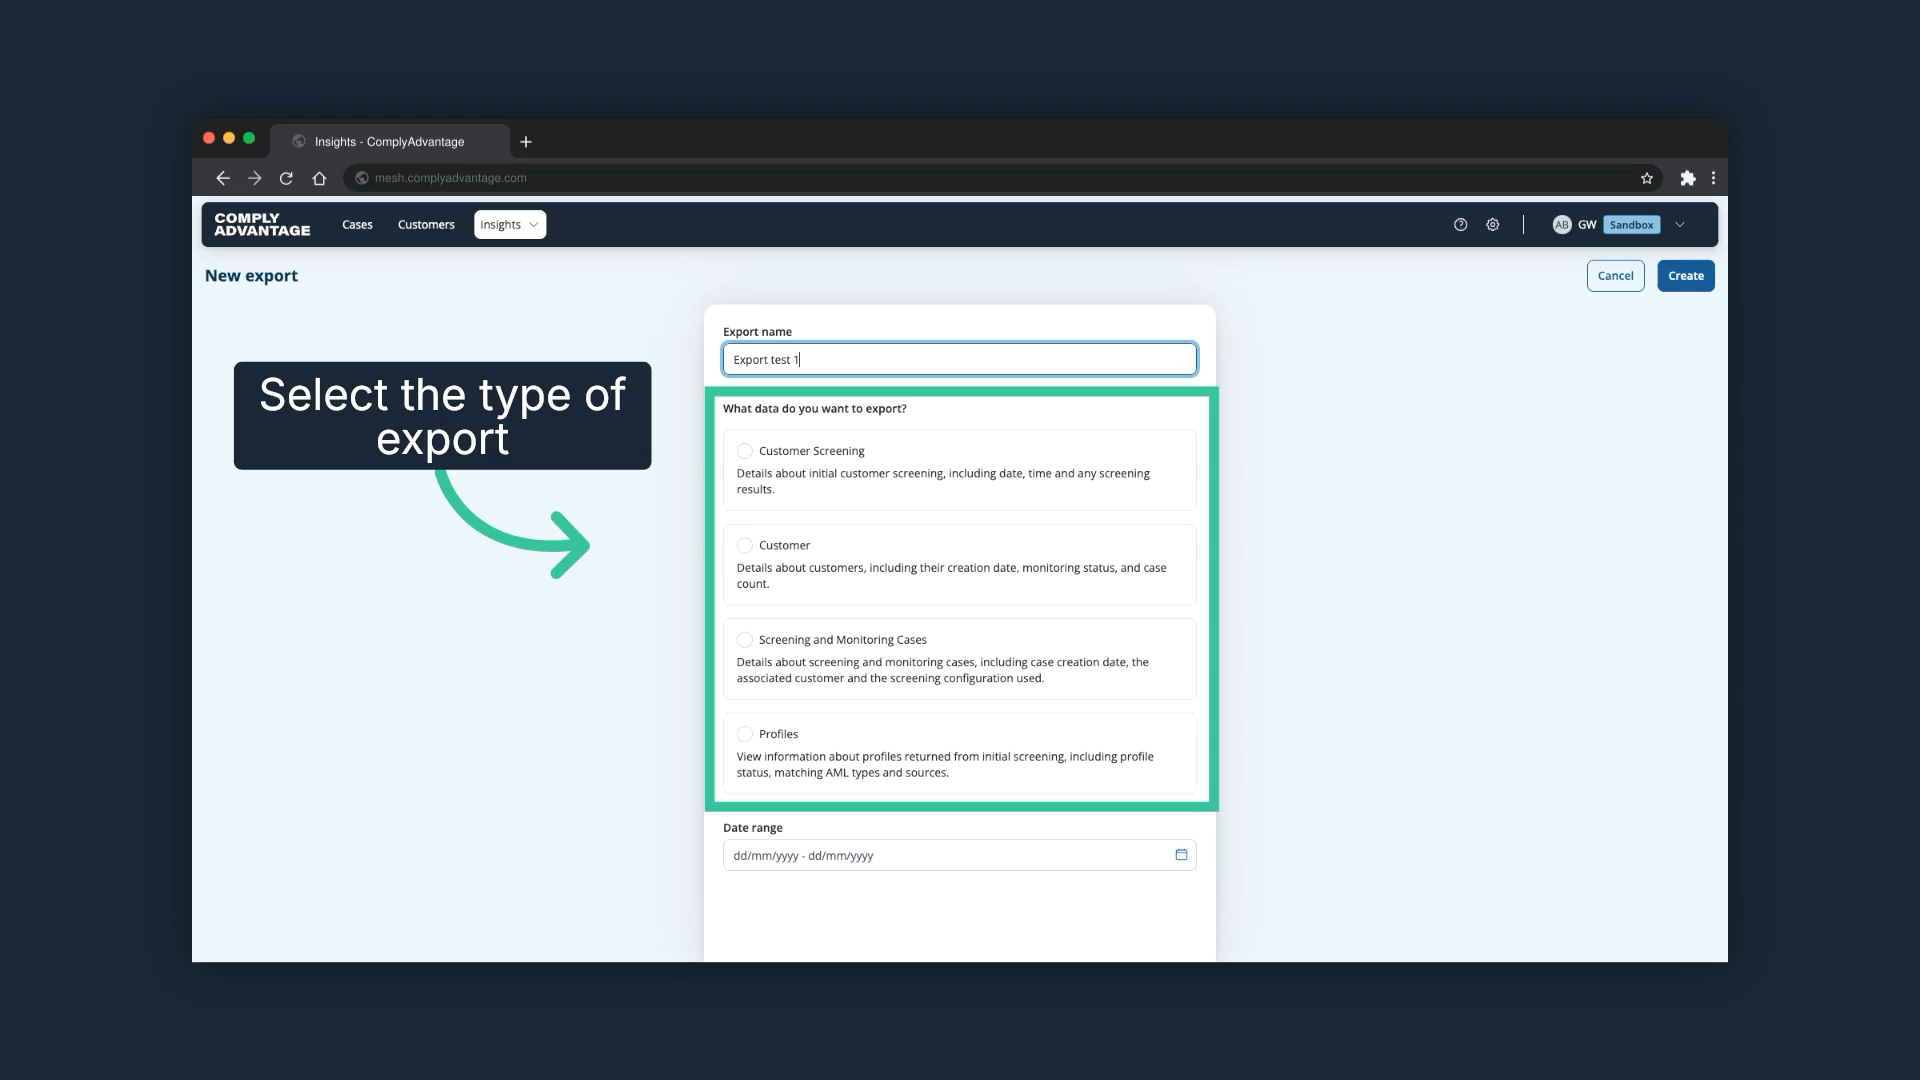
5. Select the export type
Choose from the four export types. They help you show auditors that you have screened customers according to your risk-based approach, and the linked article describes what each type contains so you can pick the one that holds the rows you need. In this example, we select Customer.
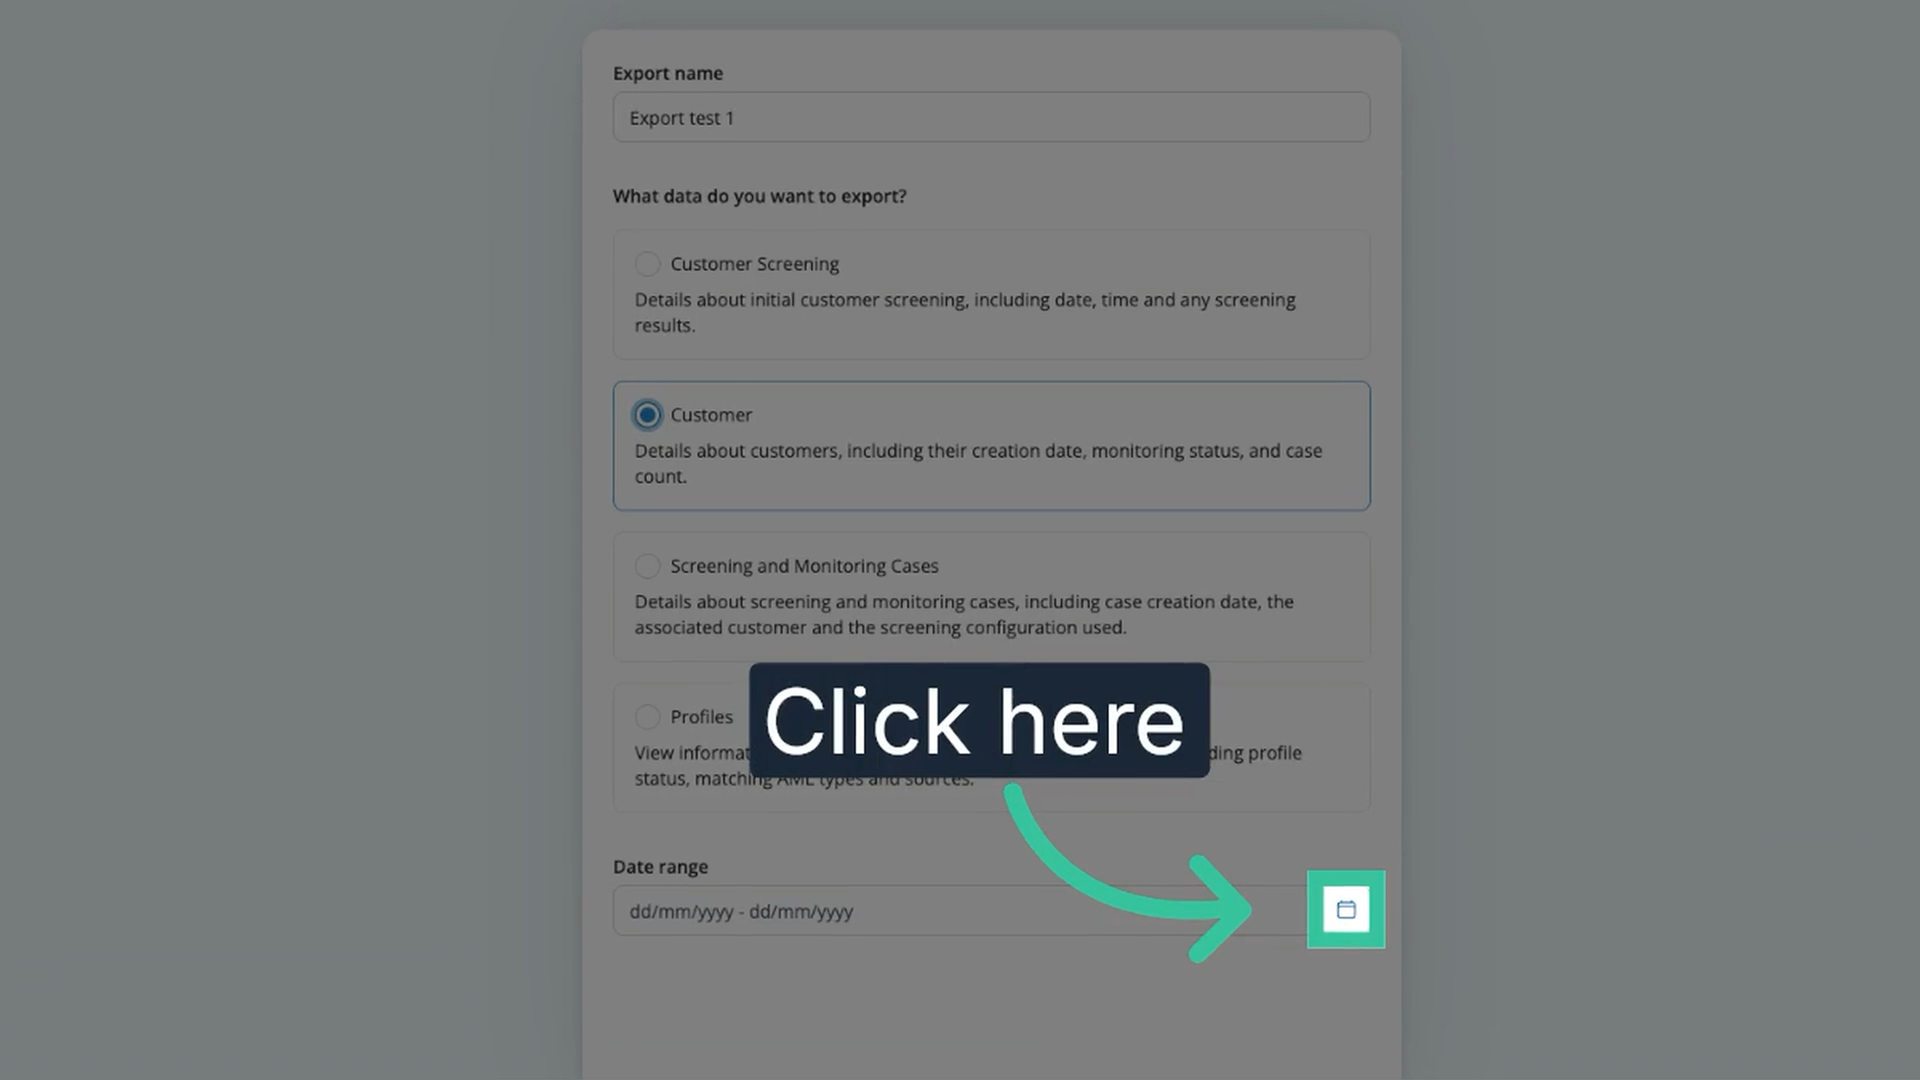
6. Open the date range selector
At the bottom of the page, click the date range selector.
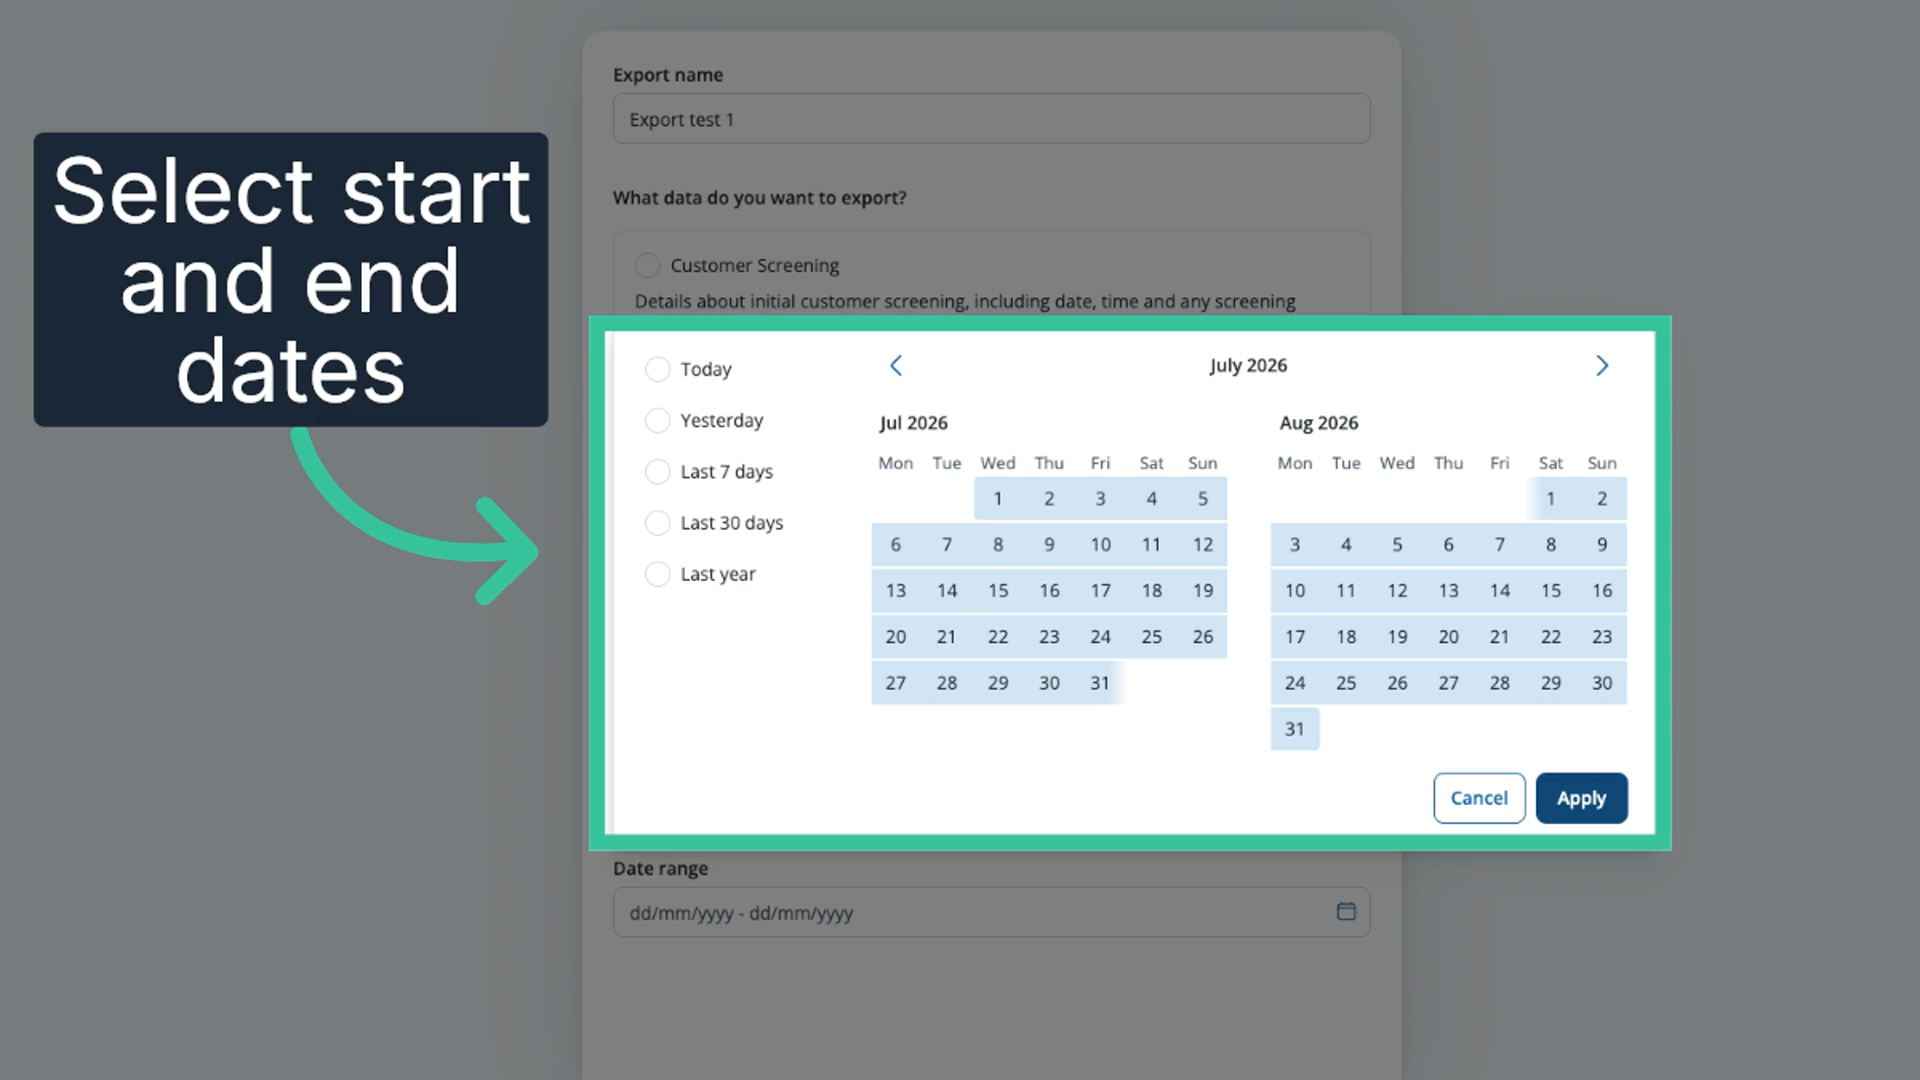
7. Select the start and end dates
Select the start and end dates the export should cover.
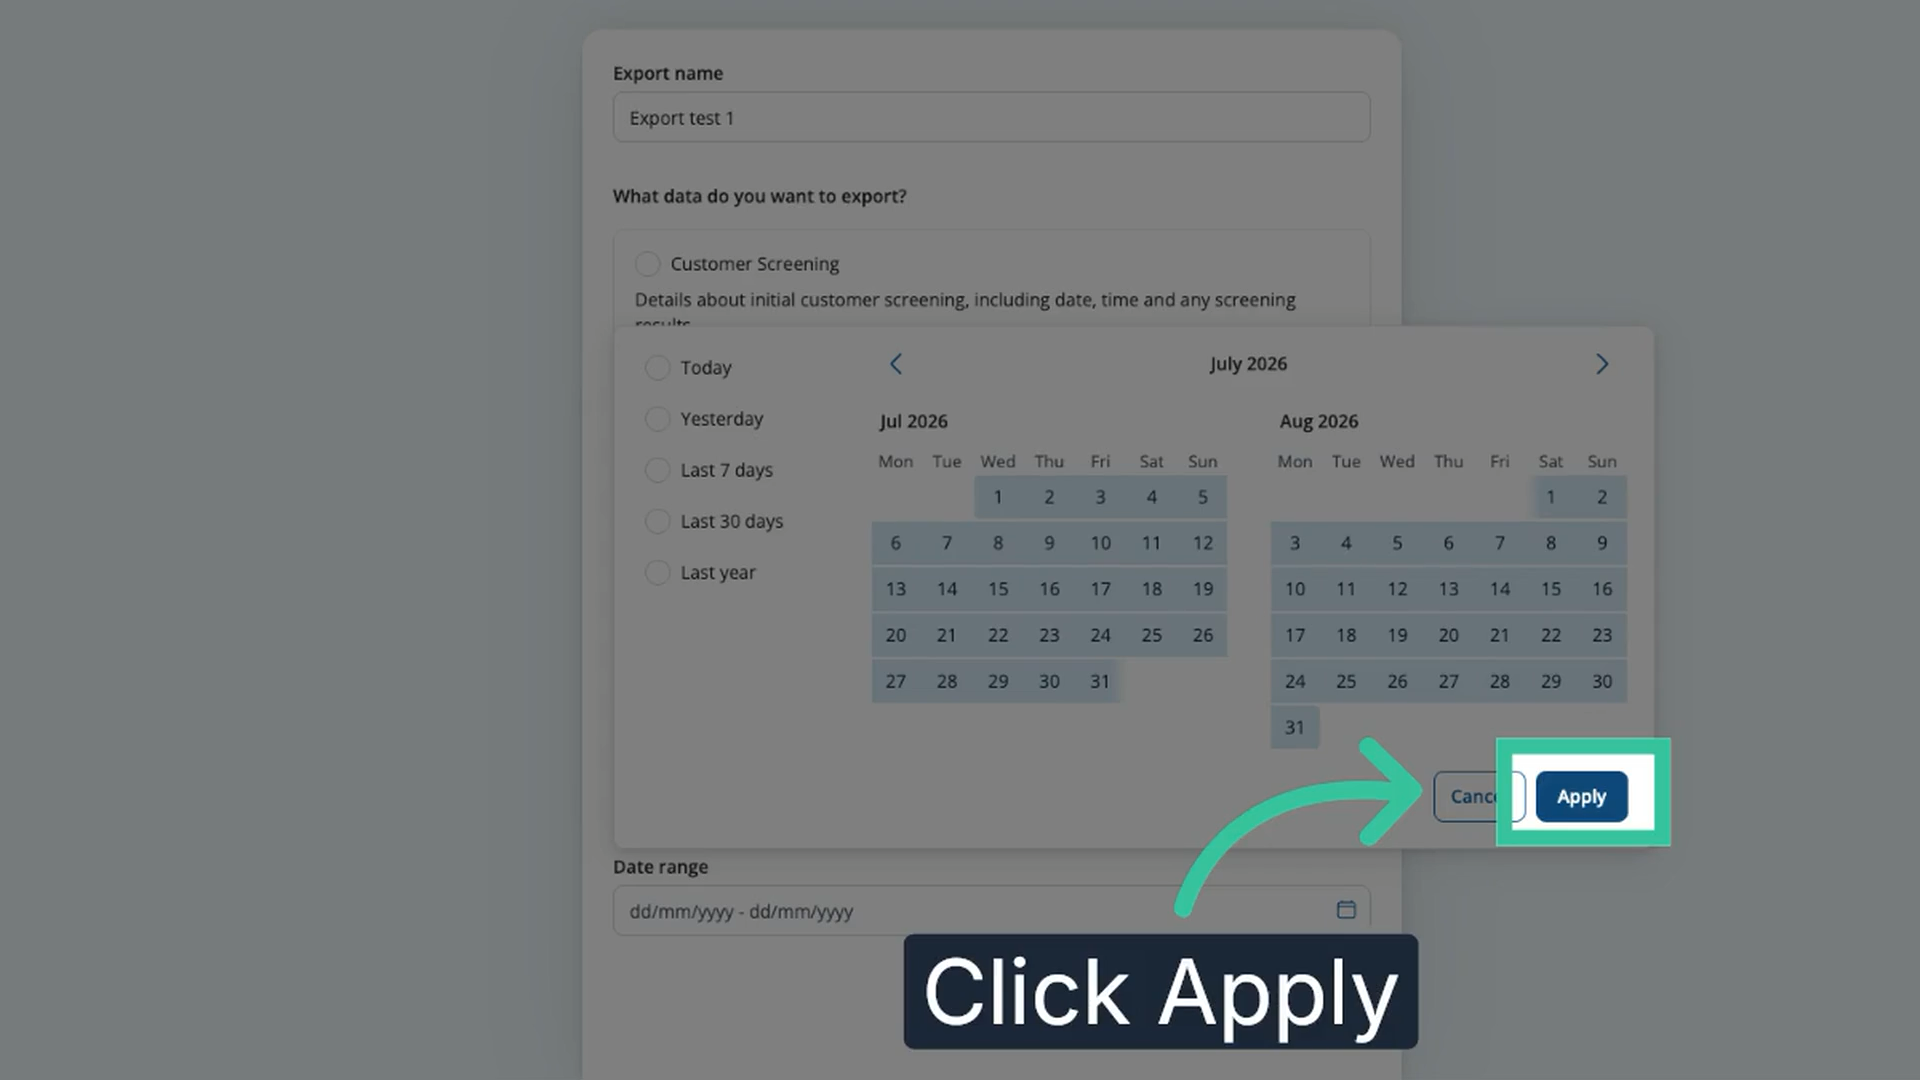
8. Click "Apply"
Click "Apply" to confirm the date range.
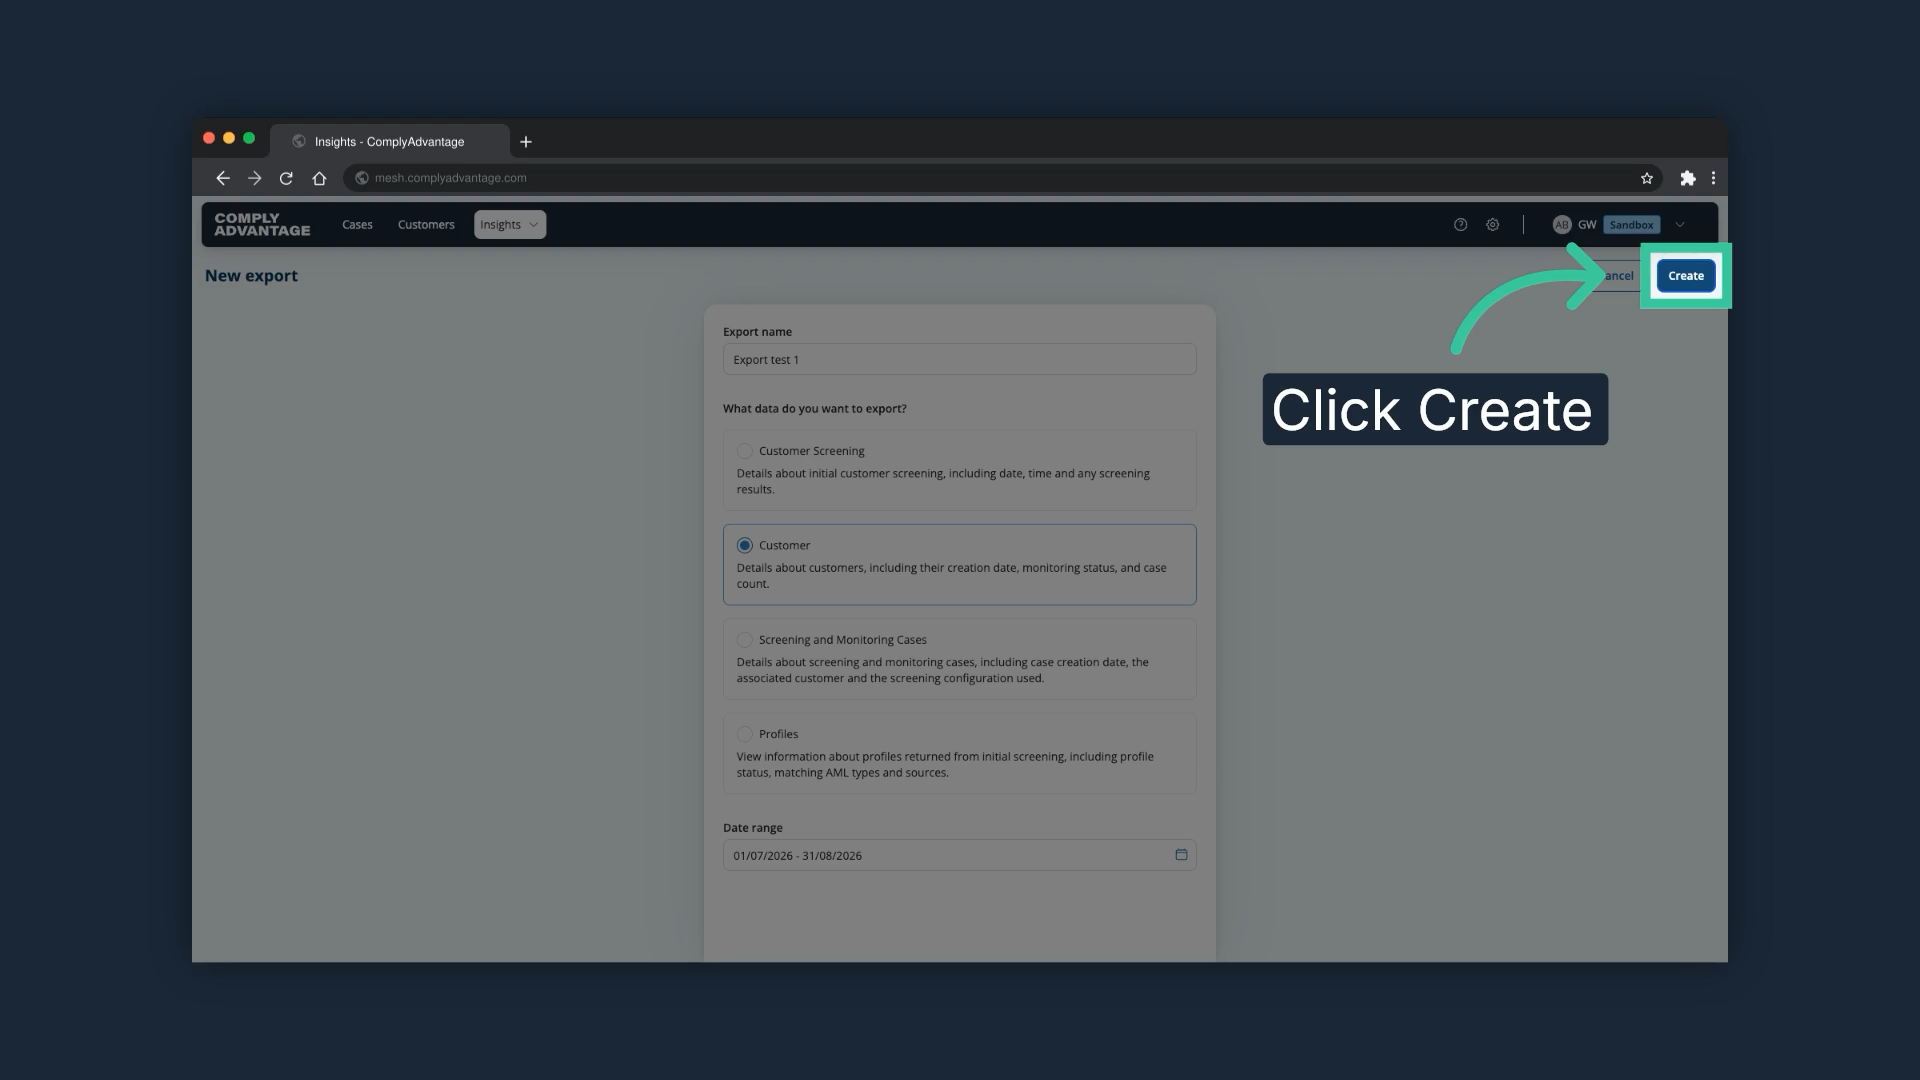
9. Click "Create"
Click "Create" to finalise the export.
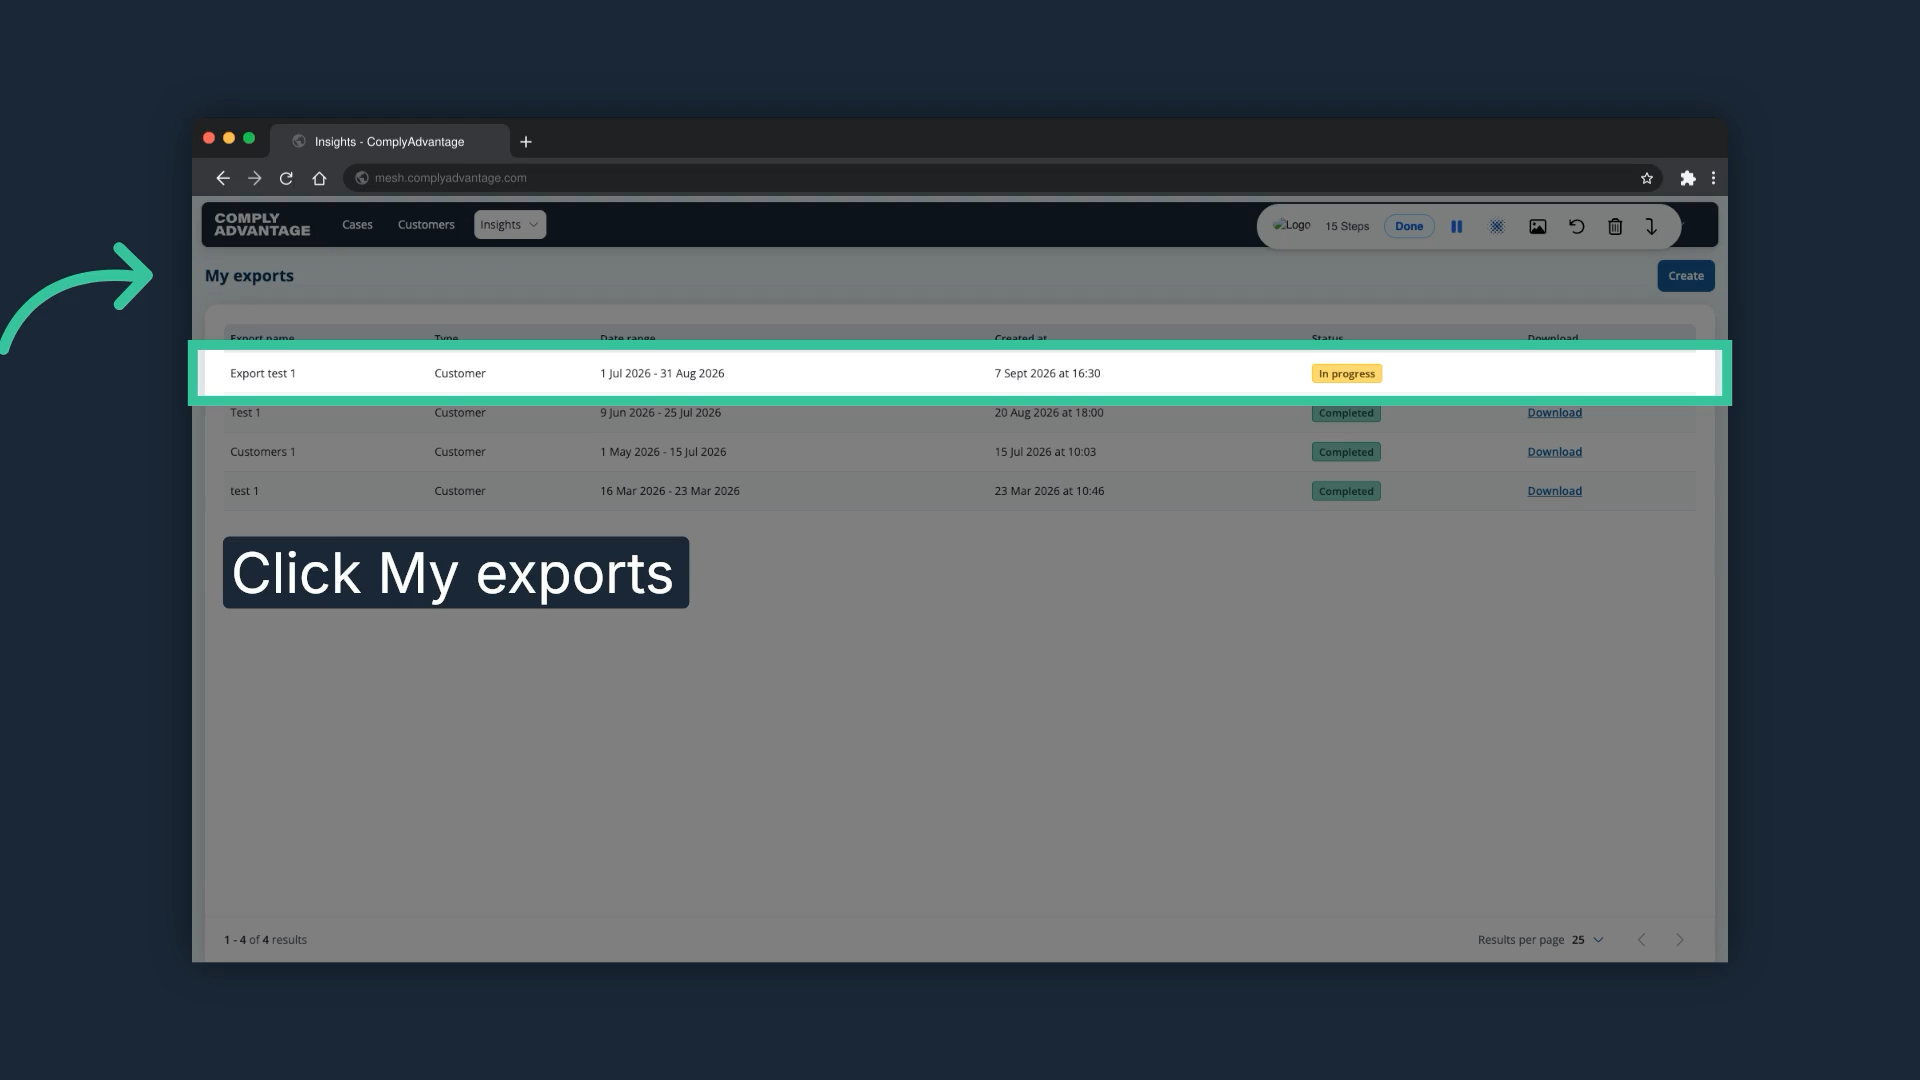
10. Go back to "My exports"
Go back to "My exports" to review the export you just created. It appears at the top of the list with the status In progress while it is being prepared.
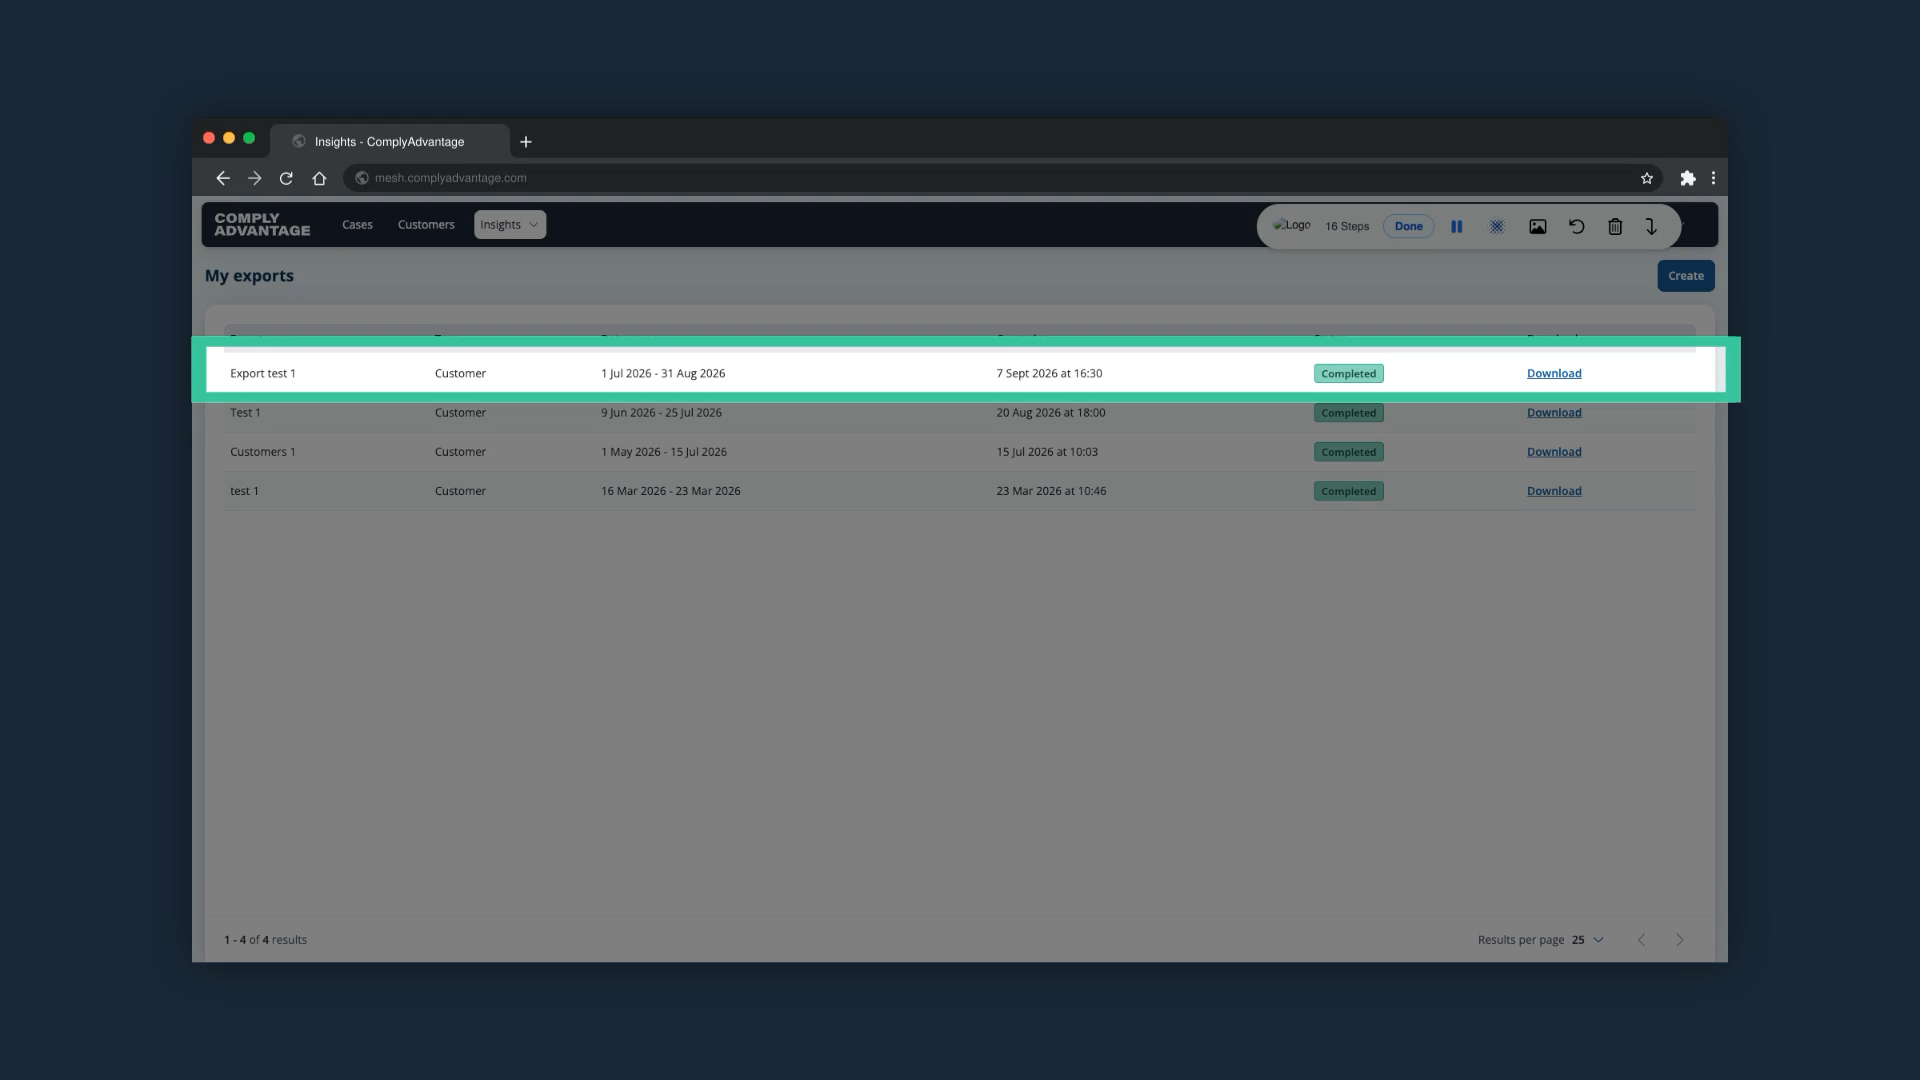
11. Check the export status
Once complete, the export status shows as Completed. You might have to refresh your page for the status to update.
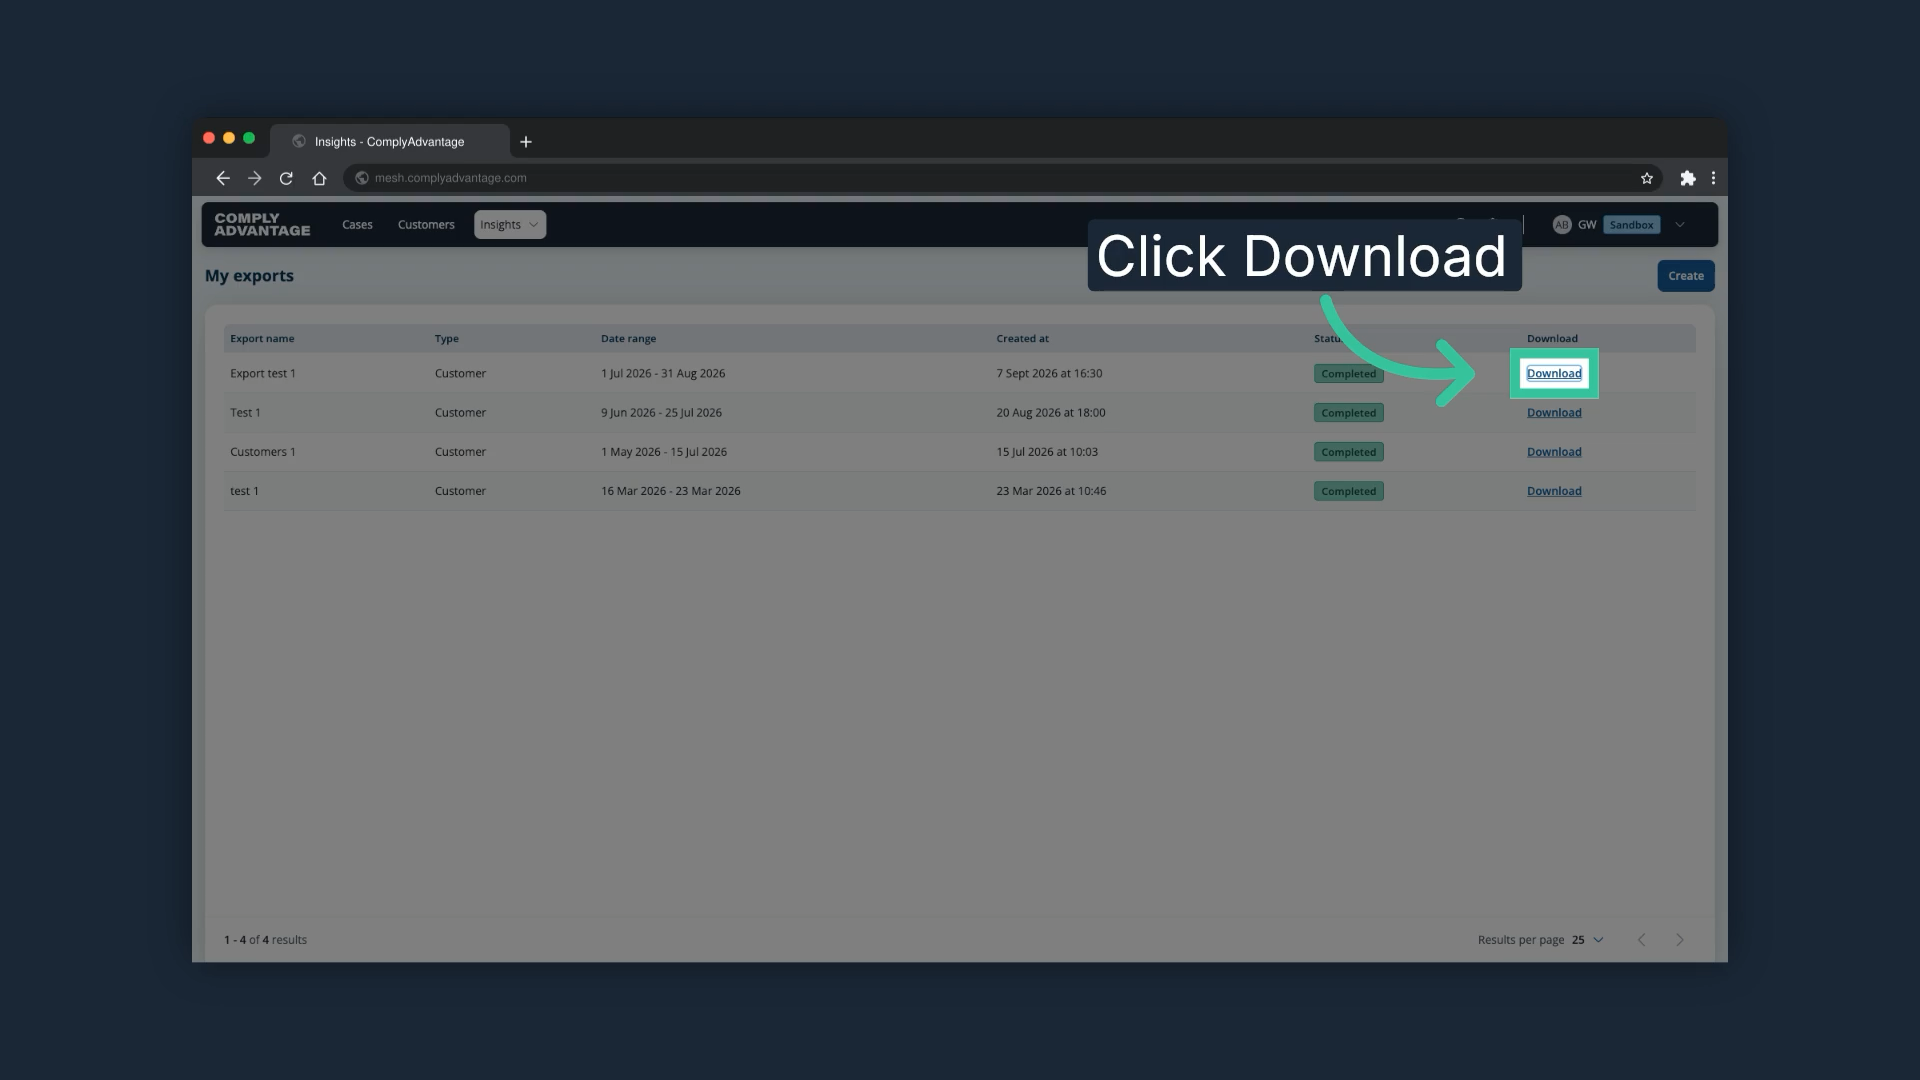
12. Click "Download"
Download the completed export file to your device for further analysis or record keeping. The file is a .csv.
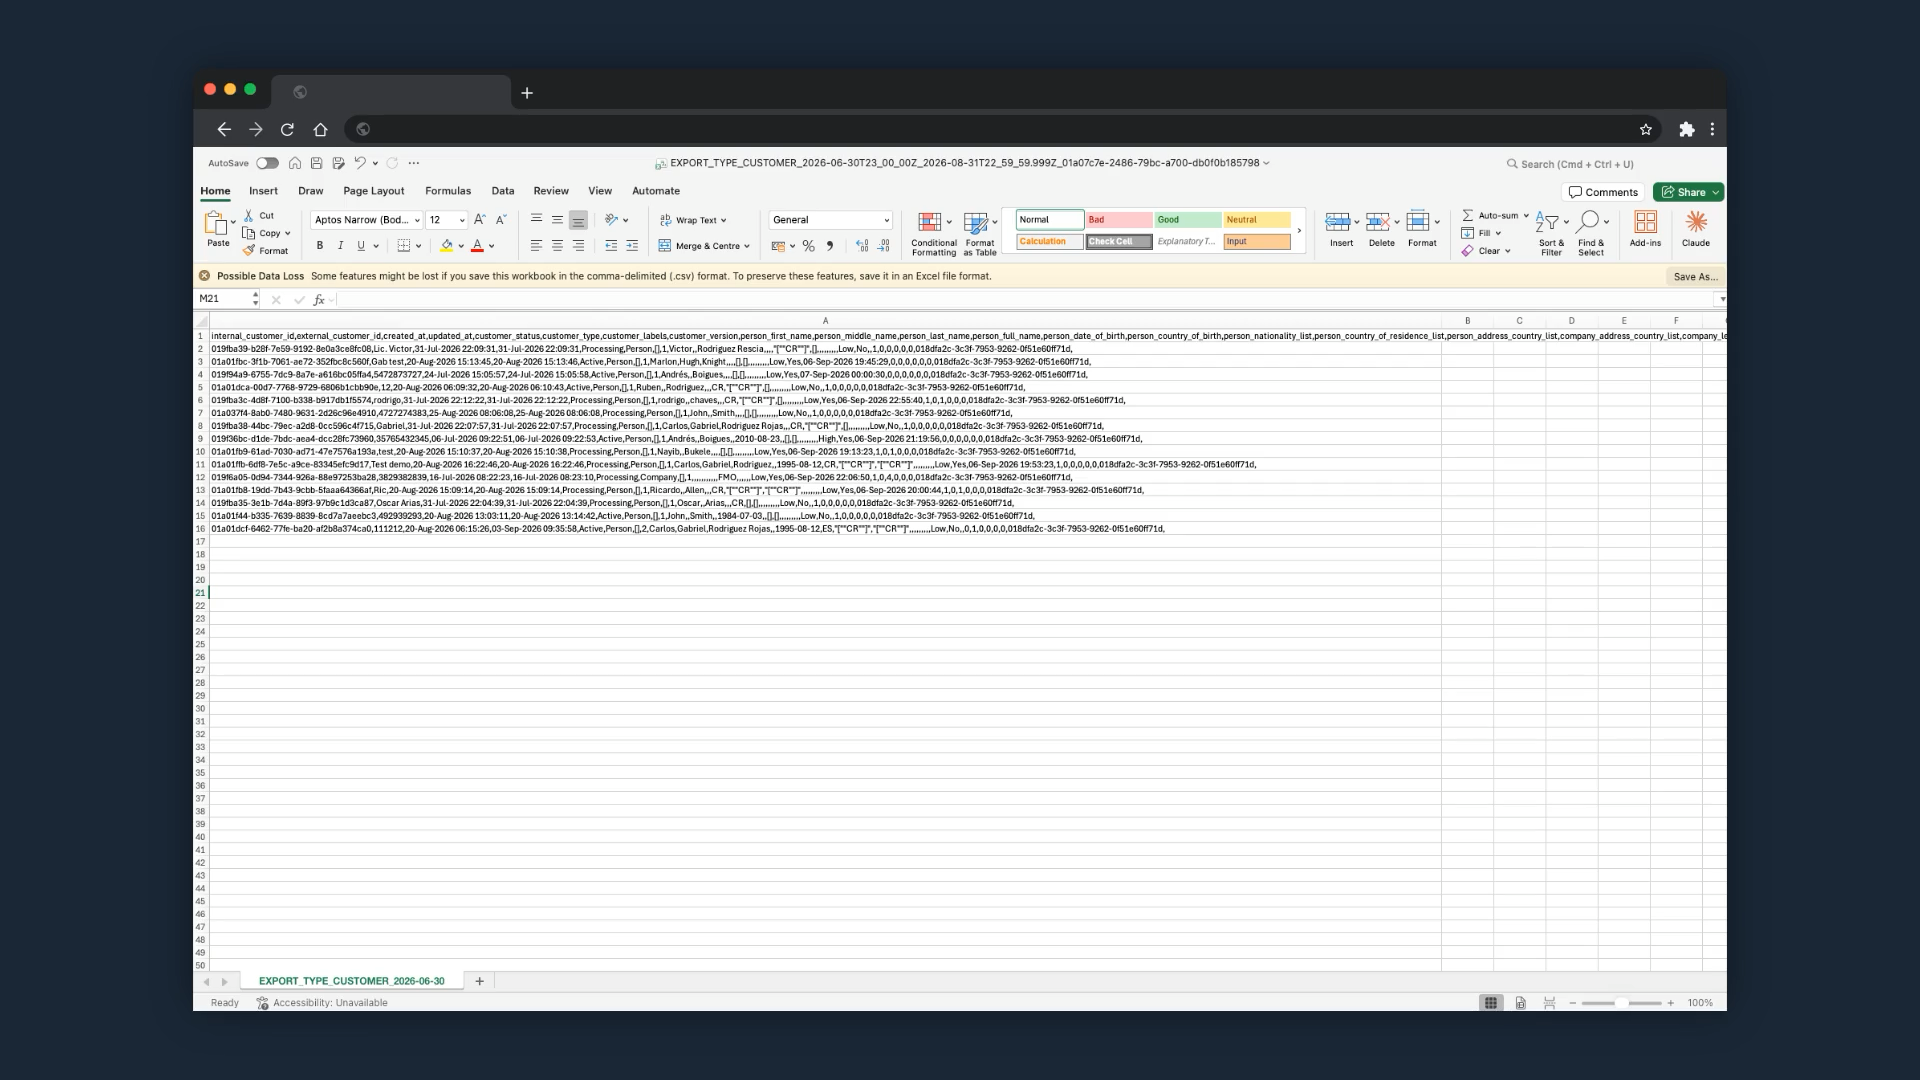
13. Check the export file
Open the .csv in a spreadsheet application and edit it as you need.
We hope this guide helped you learn how to create and download data exports in Mesh.